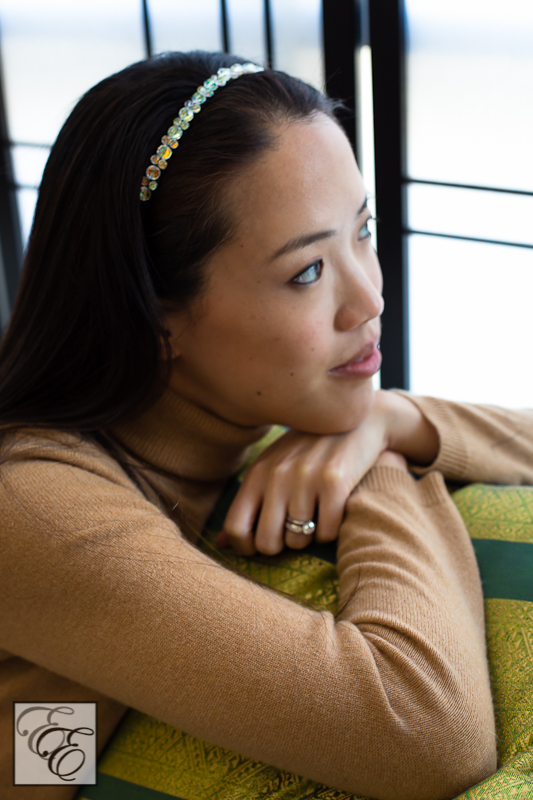
Although I’ve always loved them, hairbands have surged in popularity on the fashion scene for the past year or so. The ones seen on the runways are often adorned with crystals and gems. They literally are jewelry for your hair, lending romance and glamour to everything from soft braided up-dos, loose messy buns, airy waves, and sleek straight styles.
I enjoy how elastic hairbands keep your hair perfectly in place, but I’m frustrated that they are often too tight-fitting for me, leading to a headache when I wear them for longer periods of time. So, I decided to create my own Swarovski-studded adjustable elastic headband.
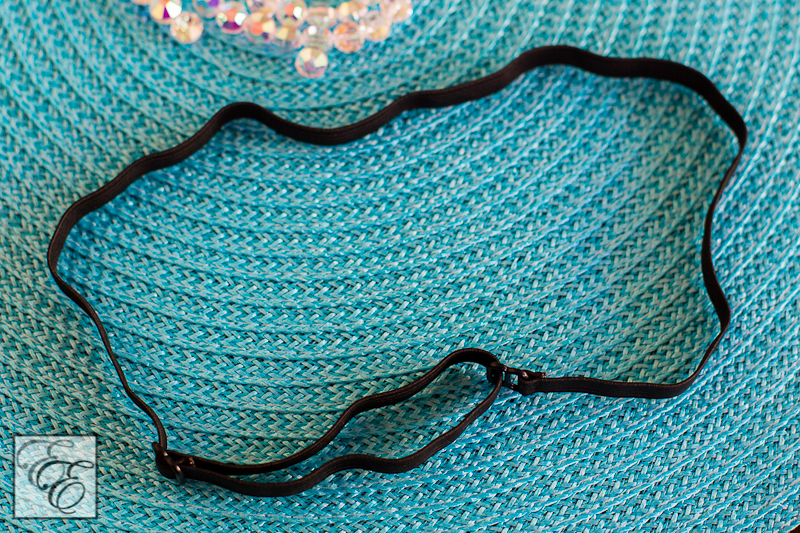
This DIY project takes a 24″ length of 3/8″ wide elastic, two 3/8″ wide lingerie strap slides, a bit of nail polish, thread, and your beads of choice.
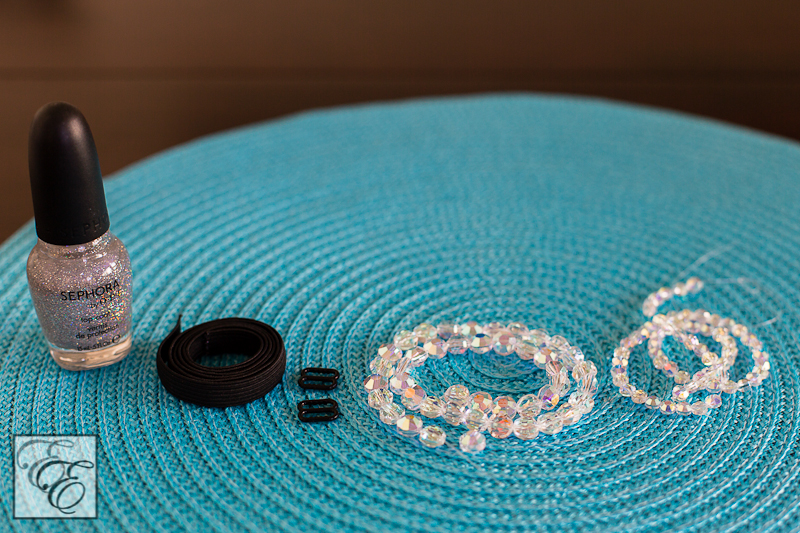
Swarovski crystal beads are my favorite to use because of their high level of clarity and sparkle. I would use lower-price plastic or glass beads for a child’s hairband, but for your evening wear enjoyment, I recommend using the best materials you can find. For this project, I used 4mm and 8mm-sized 5052 mini round beads with an AB (aurora borealis) finish.
Dab both ends of the elastic length lightly but completely with the nail polish to prevent fraying. A clear topcoat is the easiest choice. I used one with sparkles to add a unique touch, although the ends are unseen in the finished product.
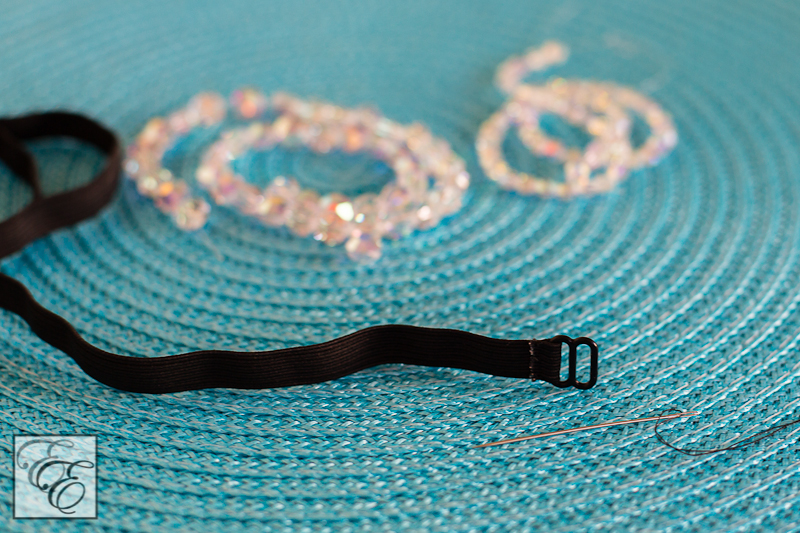
Insert one end into the lingerie strap slide and stich closed.
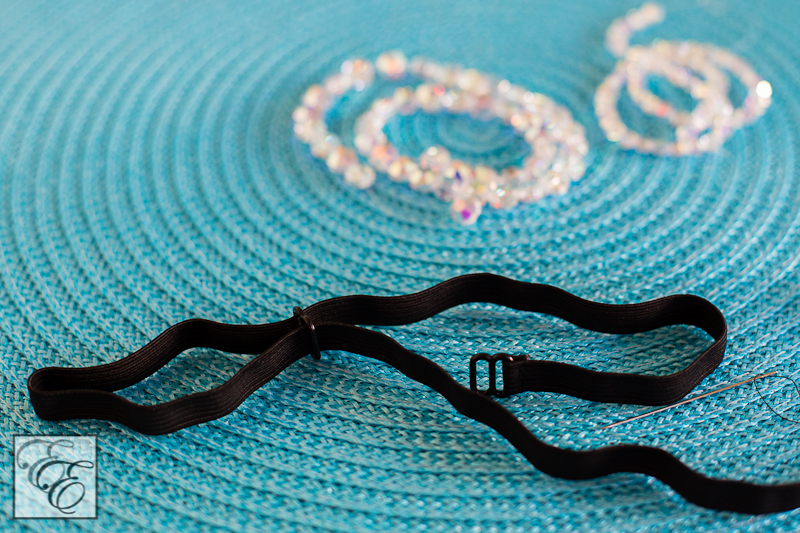
String the other free end of the elastic in and out of the second strap slide.
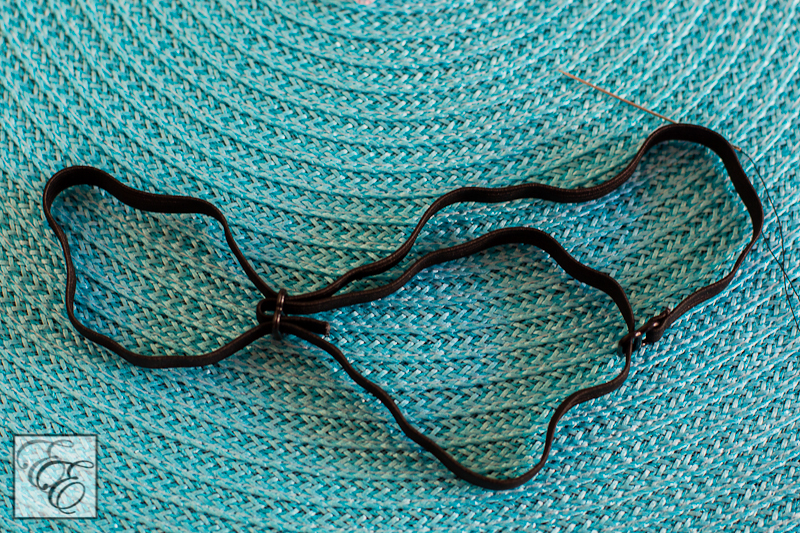
Loop the free end through the first strap slide and double up the loop made on the second strap slide. Stitch the free end to close the inner loop just created.
You now have completed sewing the hairband; time to decorate it!
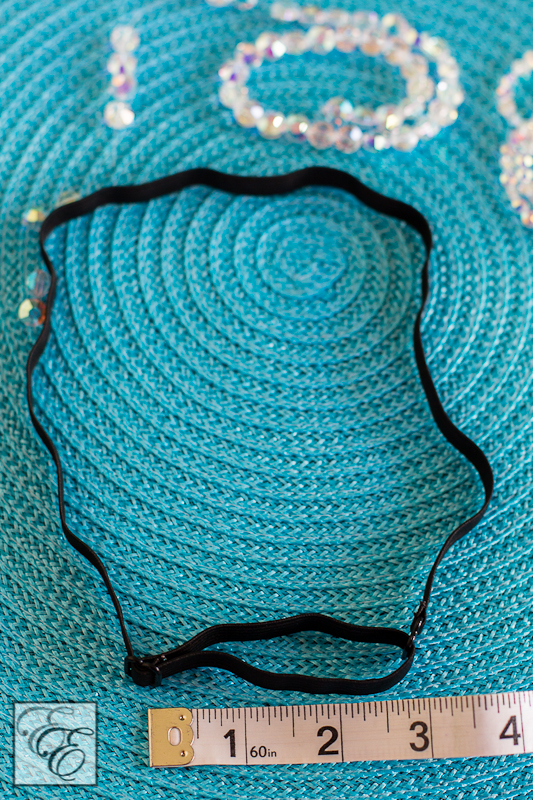
I create a ~3″ length of overlapping elastic, and estimate that I will embellish about 7″ of the top of the hairband. You can decorate a longer length, but 7″ will be enough for the main visible portion.

I start sewing beads on, interchanging the small and large beads for a simple pattern with visual interest. Stitch twice through each bead to keep it firmly in place, and place the beads as close together as possible, as the hairband will stretch out slightly when worn.
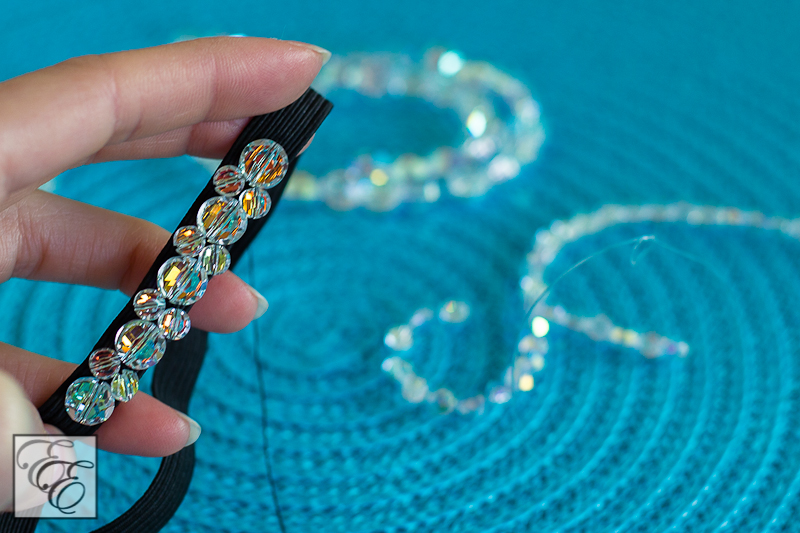
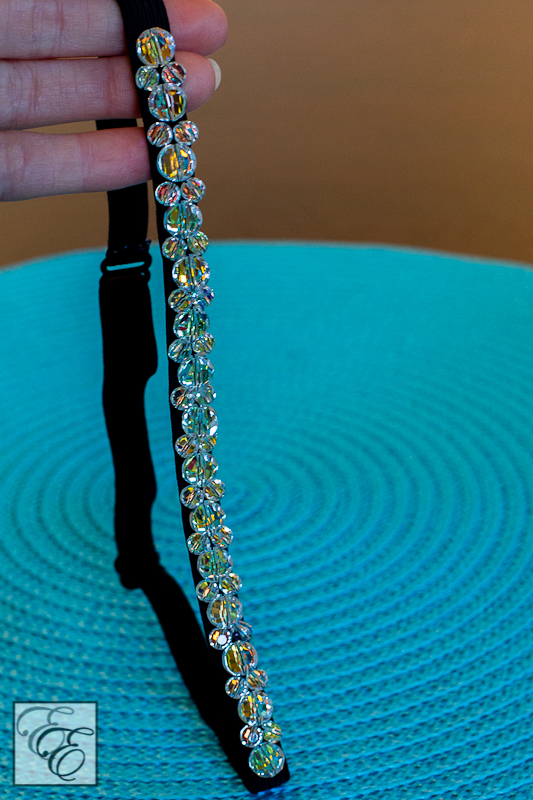
The black elastic is a great contrasting background to highlight the iridescent quality of the AB bead finish. As each bead has the AB coating only on one side, make sure the coated side is against the elastic, so that the color reflects through the visible side of the bead.
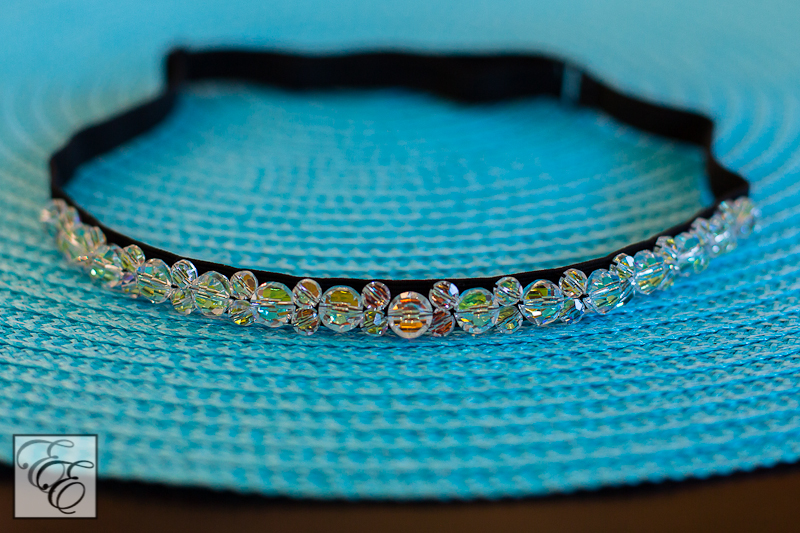
After about an hour of crafting, the headband is complete!
For about $25 (the majority of the cost will be the Swarovski beads), you now have a high-quality, versatile hair accesory that could have been found in a high-end department store for $50-$80.
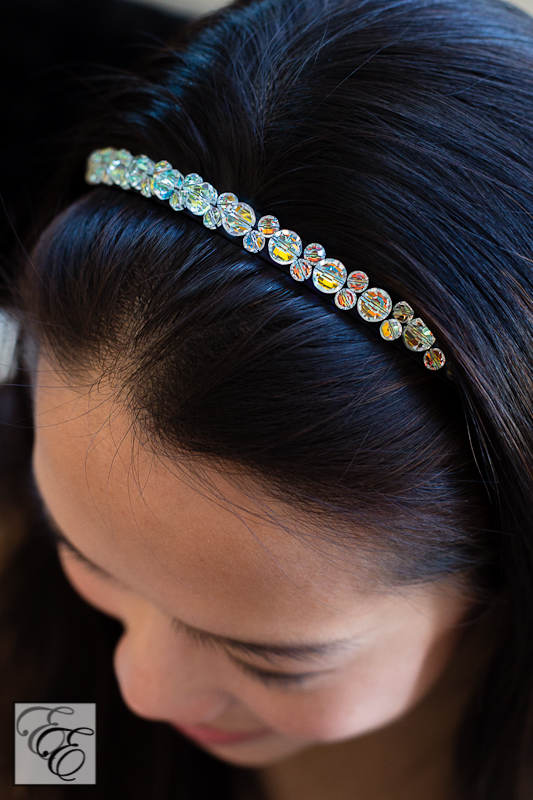
I’ll showcase examples of how to wear it in a future post. How or when would you wear something like this?
Cheers,
![]()